
Starting a Blog - Part 3: Deploying
Following part 1 and part 2 of this series, we have now set up hugo locally, created our first post and customized our theme to match our desired appearance. Next step is to deploy our content to a webserver so it is accessible to the outside world.
Netlify
Netlify is a cloud computing company that offers serverless hosting services for static websites. Netlify customers don’t need to run or configure their own web servers, they simply provide Netlify with their static content and Netlify handles all the hosting issues.
But even better, Netlify has great continuous integration tools so that it can automatically deploy whenever changes are pushed to your GitHub (or other) repository.
However, the best aspect of Netlify for small blogs like mine, is that it is FREE. While they offer many additional features (see pricing plans) for their paid plans, their free tier has more than enough for most personal blogs.
Preparing for a ‘Production’ Build
Up until now, we have been dealing with draft posts and running the Hugo server with the -D option.
Before we deploy, we need to make any ready-to-publish posts available to a ‘Production’ build of
Hugo by setting the draft front matter to false in each post.
Once complete, we can test what a production build will look like by, once again, running hugo server,
but this time without the -D options so only non-draft content will be posted. If all looks good
on the test site, we are ready to proceed.
Clone Git Repository to GitHub
Prior to starting the Netlify configuration, we need to sync our repository to somewhere Netlify can access it. GitHub is by far the most popular git-based code hosting service, though there are many others one can consider as well.
To clone our repository to GitHub, we do the following:
-
Login into our GitHub account (or create a new one if necessary)
-
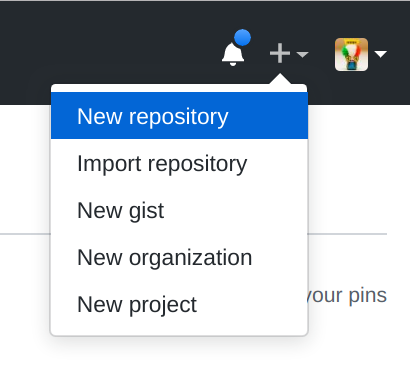
In the top right of the home page, click on the + icon, and choose ‘New repository’.
-
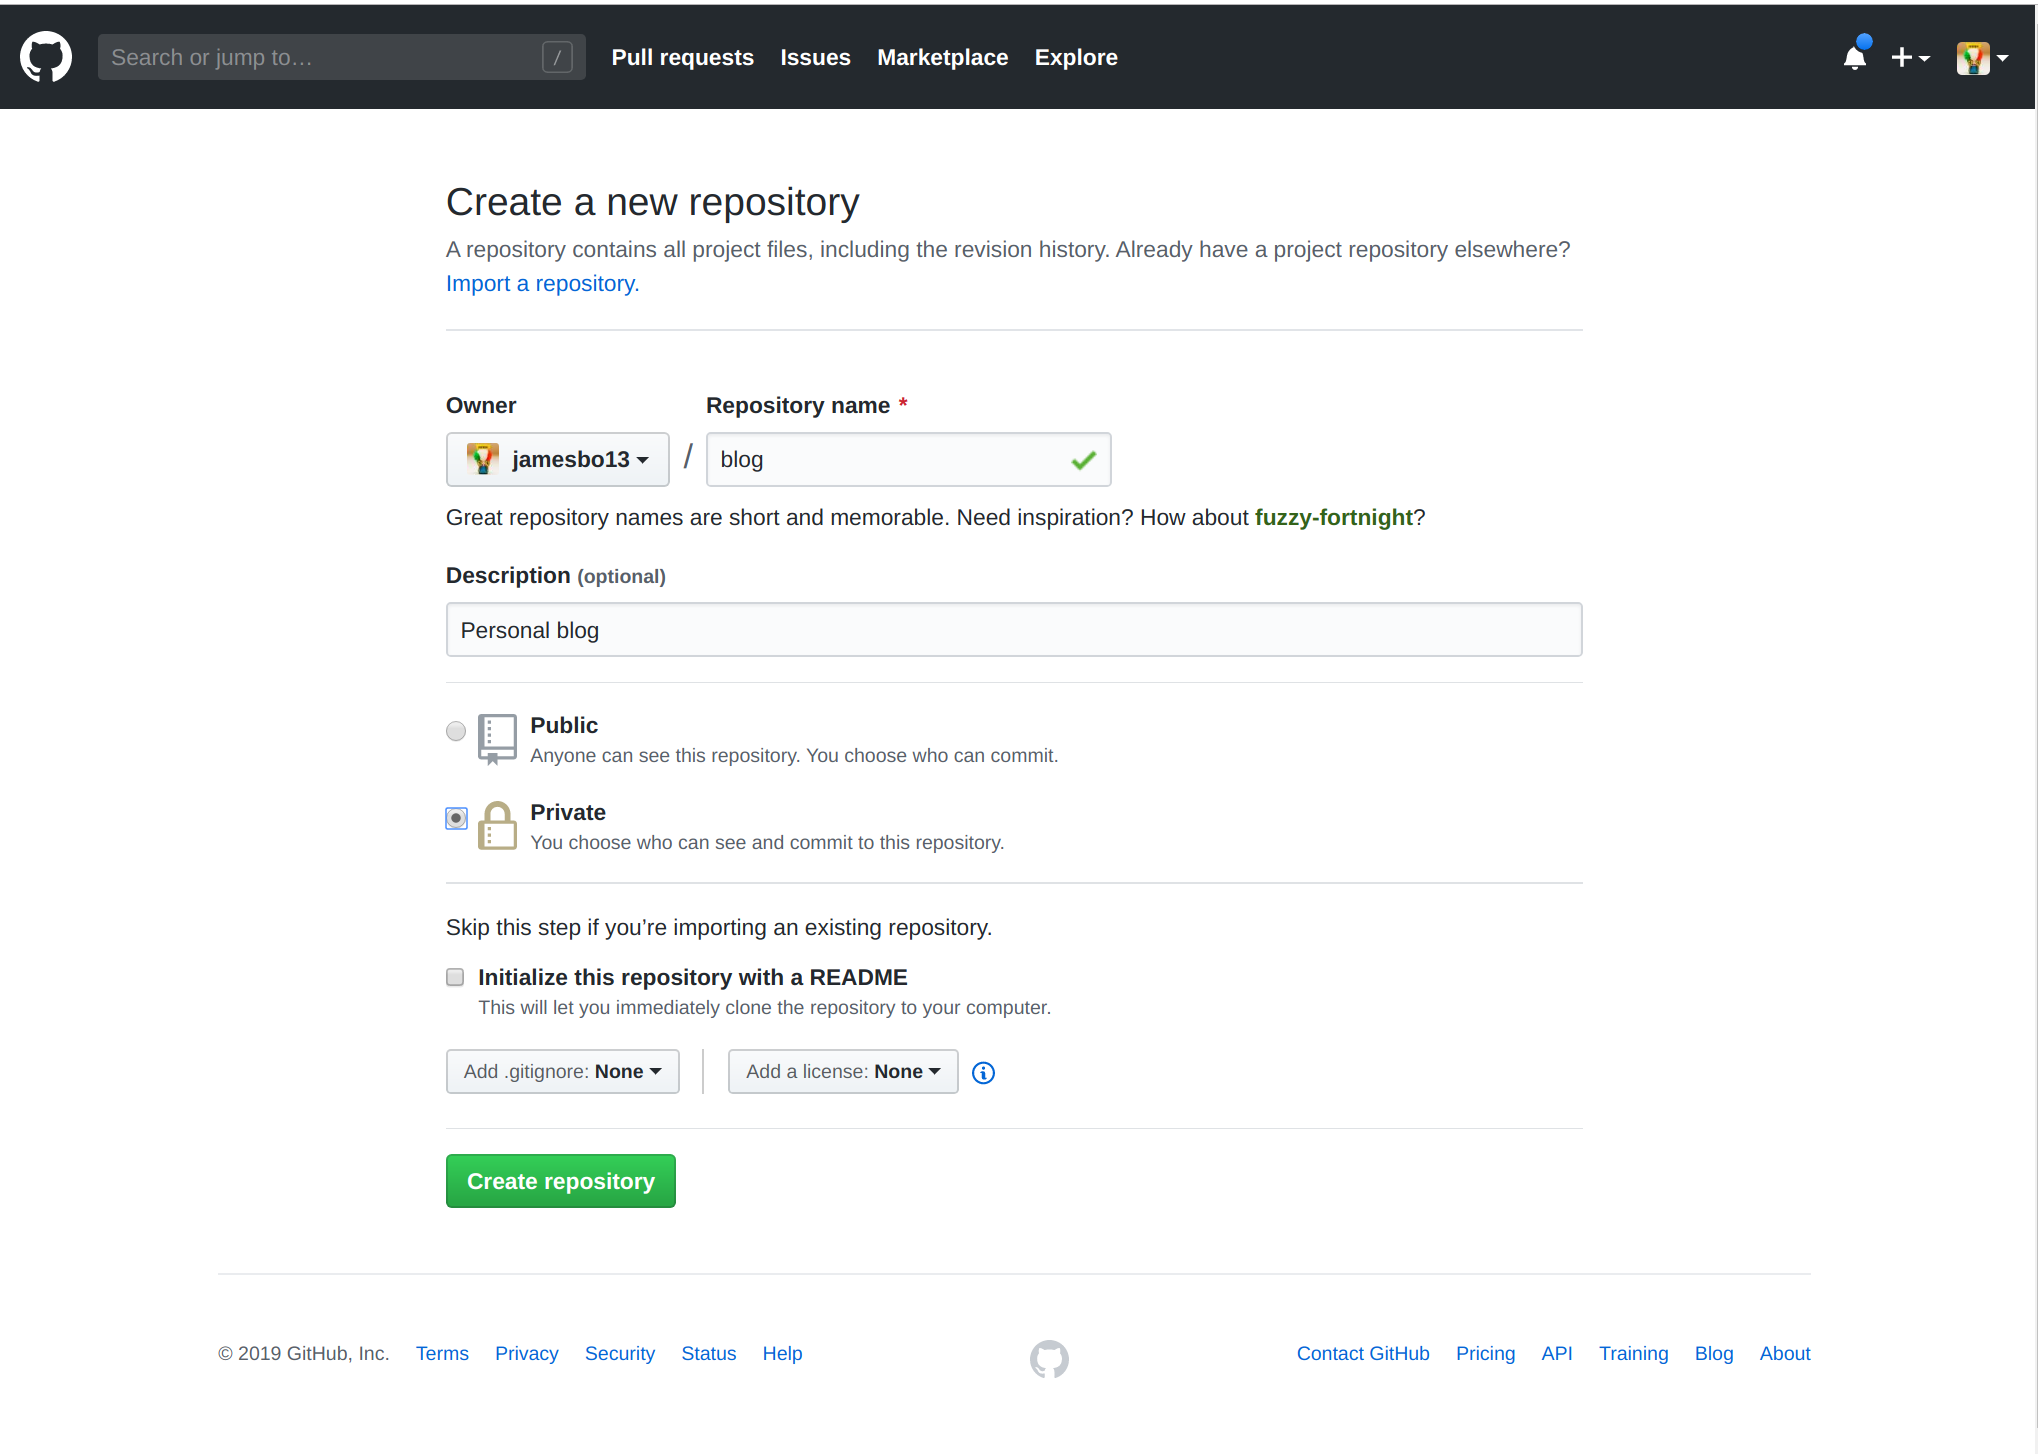
Complete the form to choose a repository name and description. As I will be the only one posting to this blog, I chose to make the repository private. Click ‘Create repository’.
-
We now have a bare repository present on GitHub. Now we simply need to inform our local repository of the remote repository


git remote add origin git@github.com:jamesbo13/blog.git
git push -u origin master
After running git push the contents of our repository’s local master branch will now be
available at our remote repository.
Creating a Netlify Site
The following steps outline how to set up your initial site from your GitHub mirrored repository:
-
Log into your Netlify account and click on the ‘New site from Git’ button.
-
Connect to GitHub by clicking the ‘GitHub’ button.

-
Next GitHub will ask you to authorize Netlify to access your repository. Follow the prompts in the pop-up window to authorize. When complete, return to the original window.
-
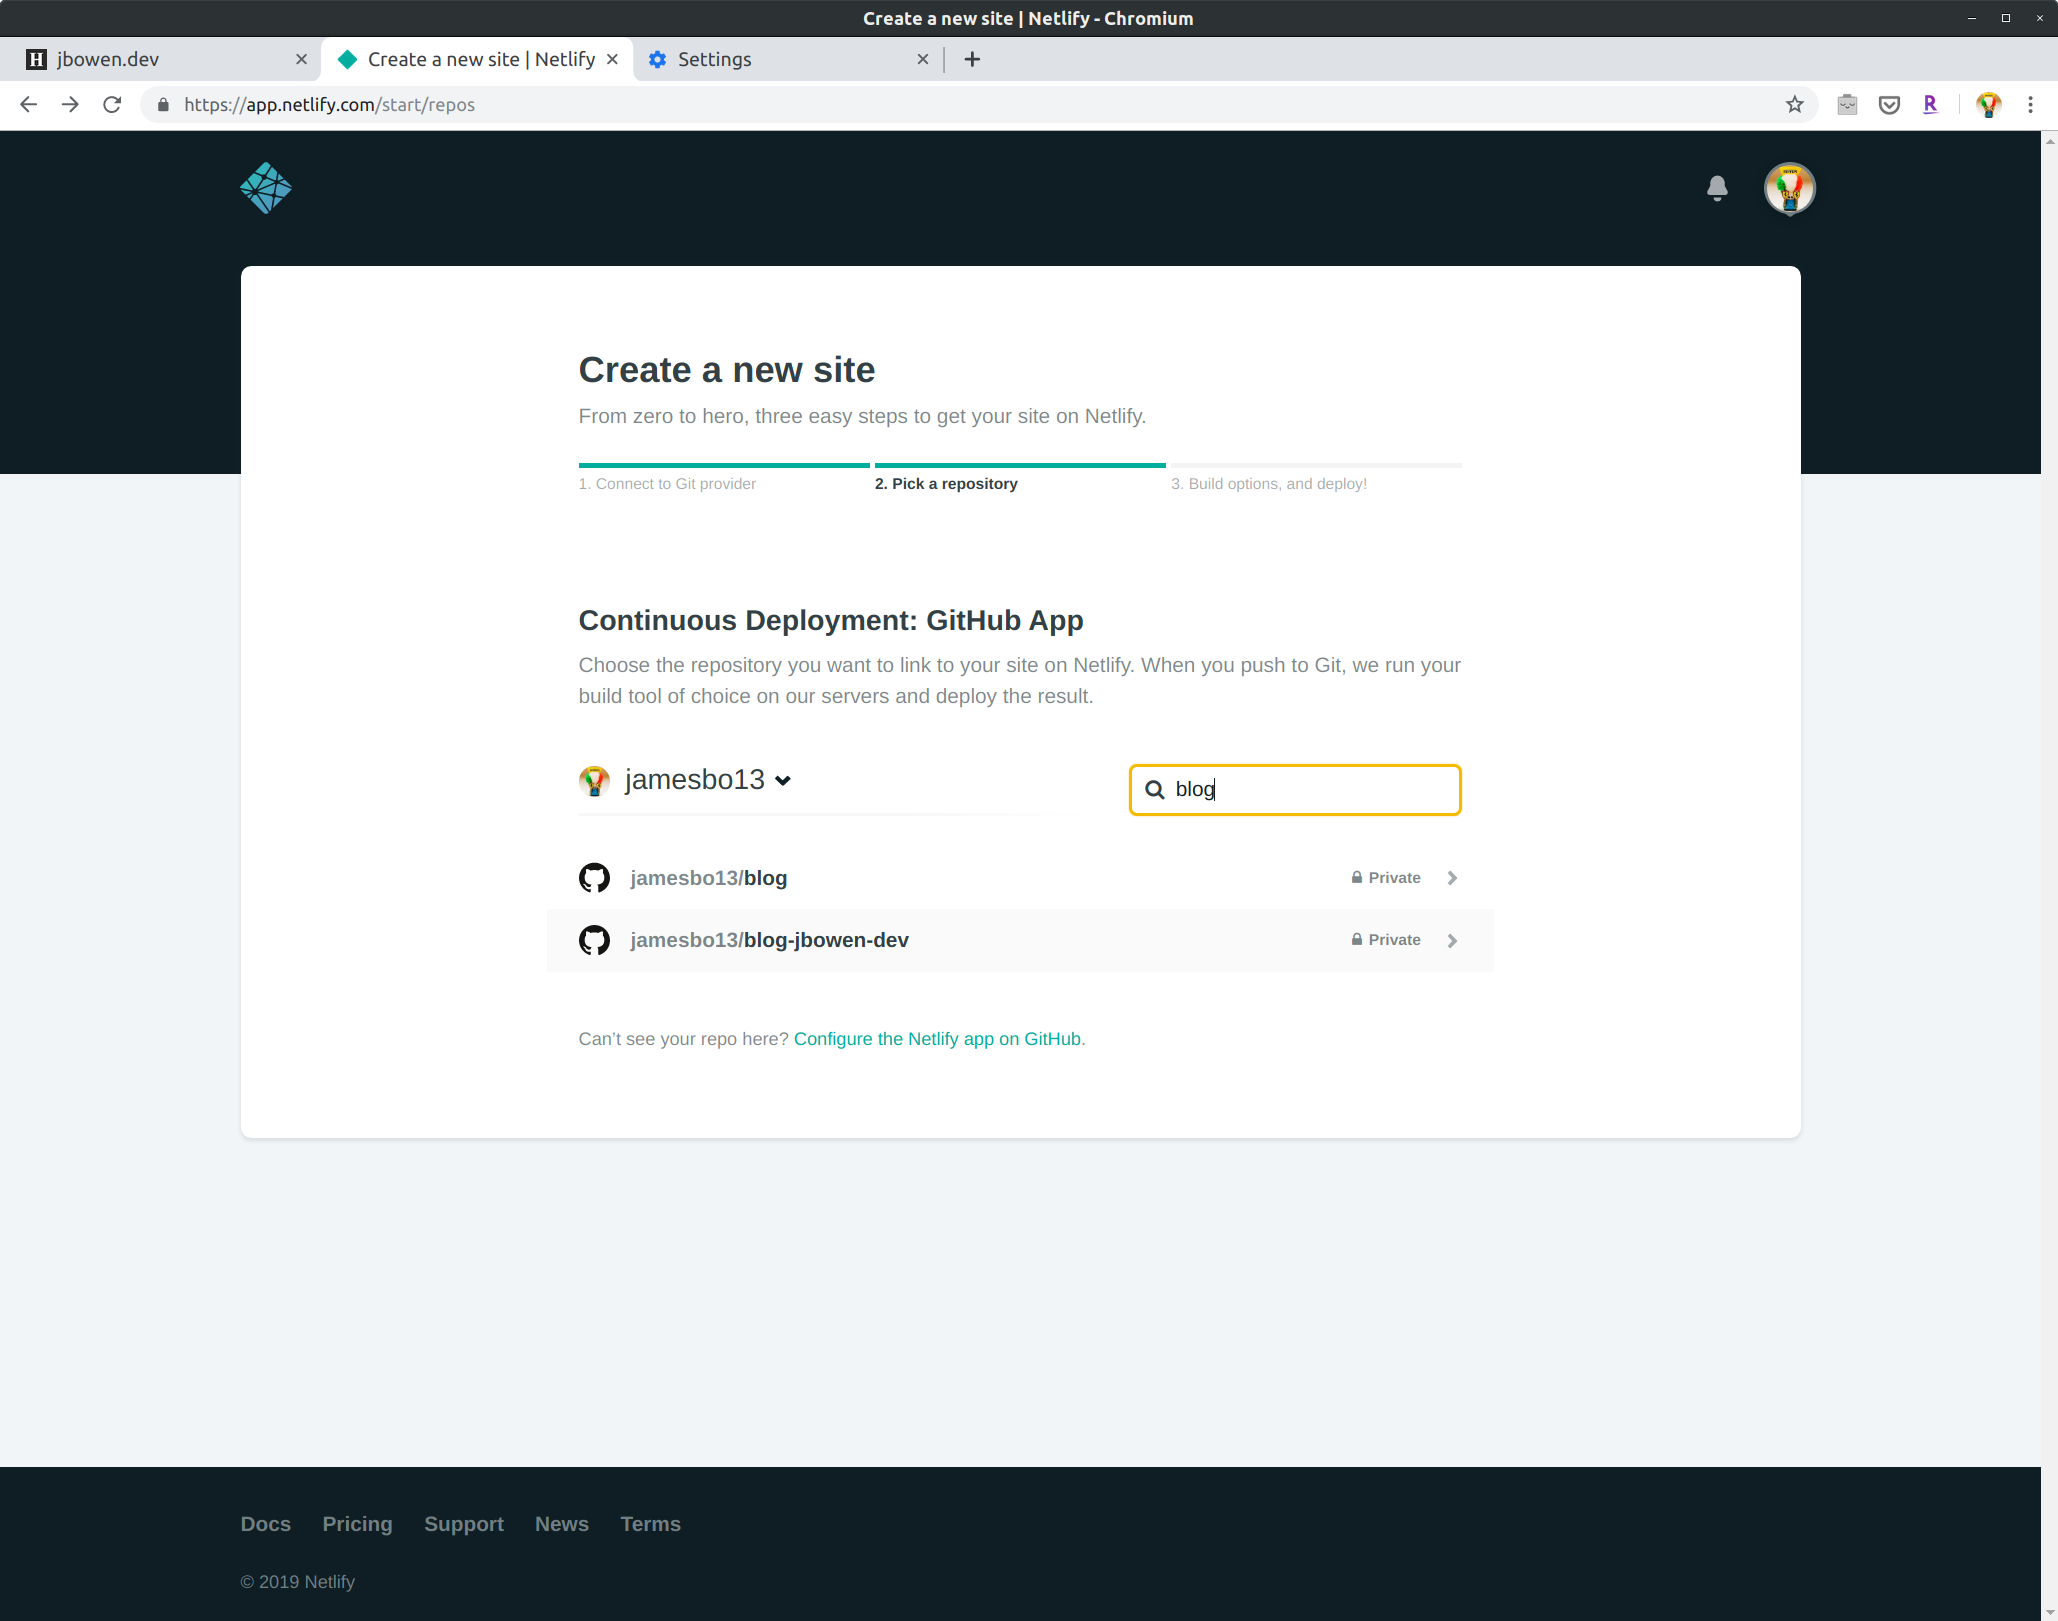
Choose the desired repository to link against (ie. “jamesbo13/blog” for our example) and click on the adjoining right arrow.
-
Complete the form with the basic settings for the site. In most cases the defaults should be fine. The most important items are to set ‘Build command’ to
hugoand the ‘Publish directory’ topublic: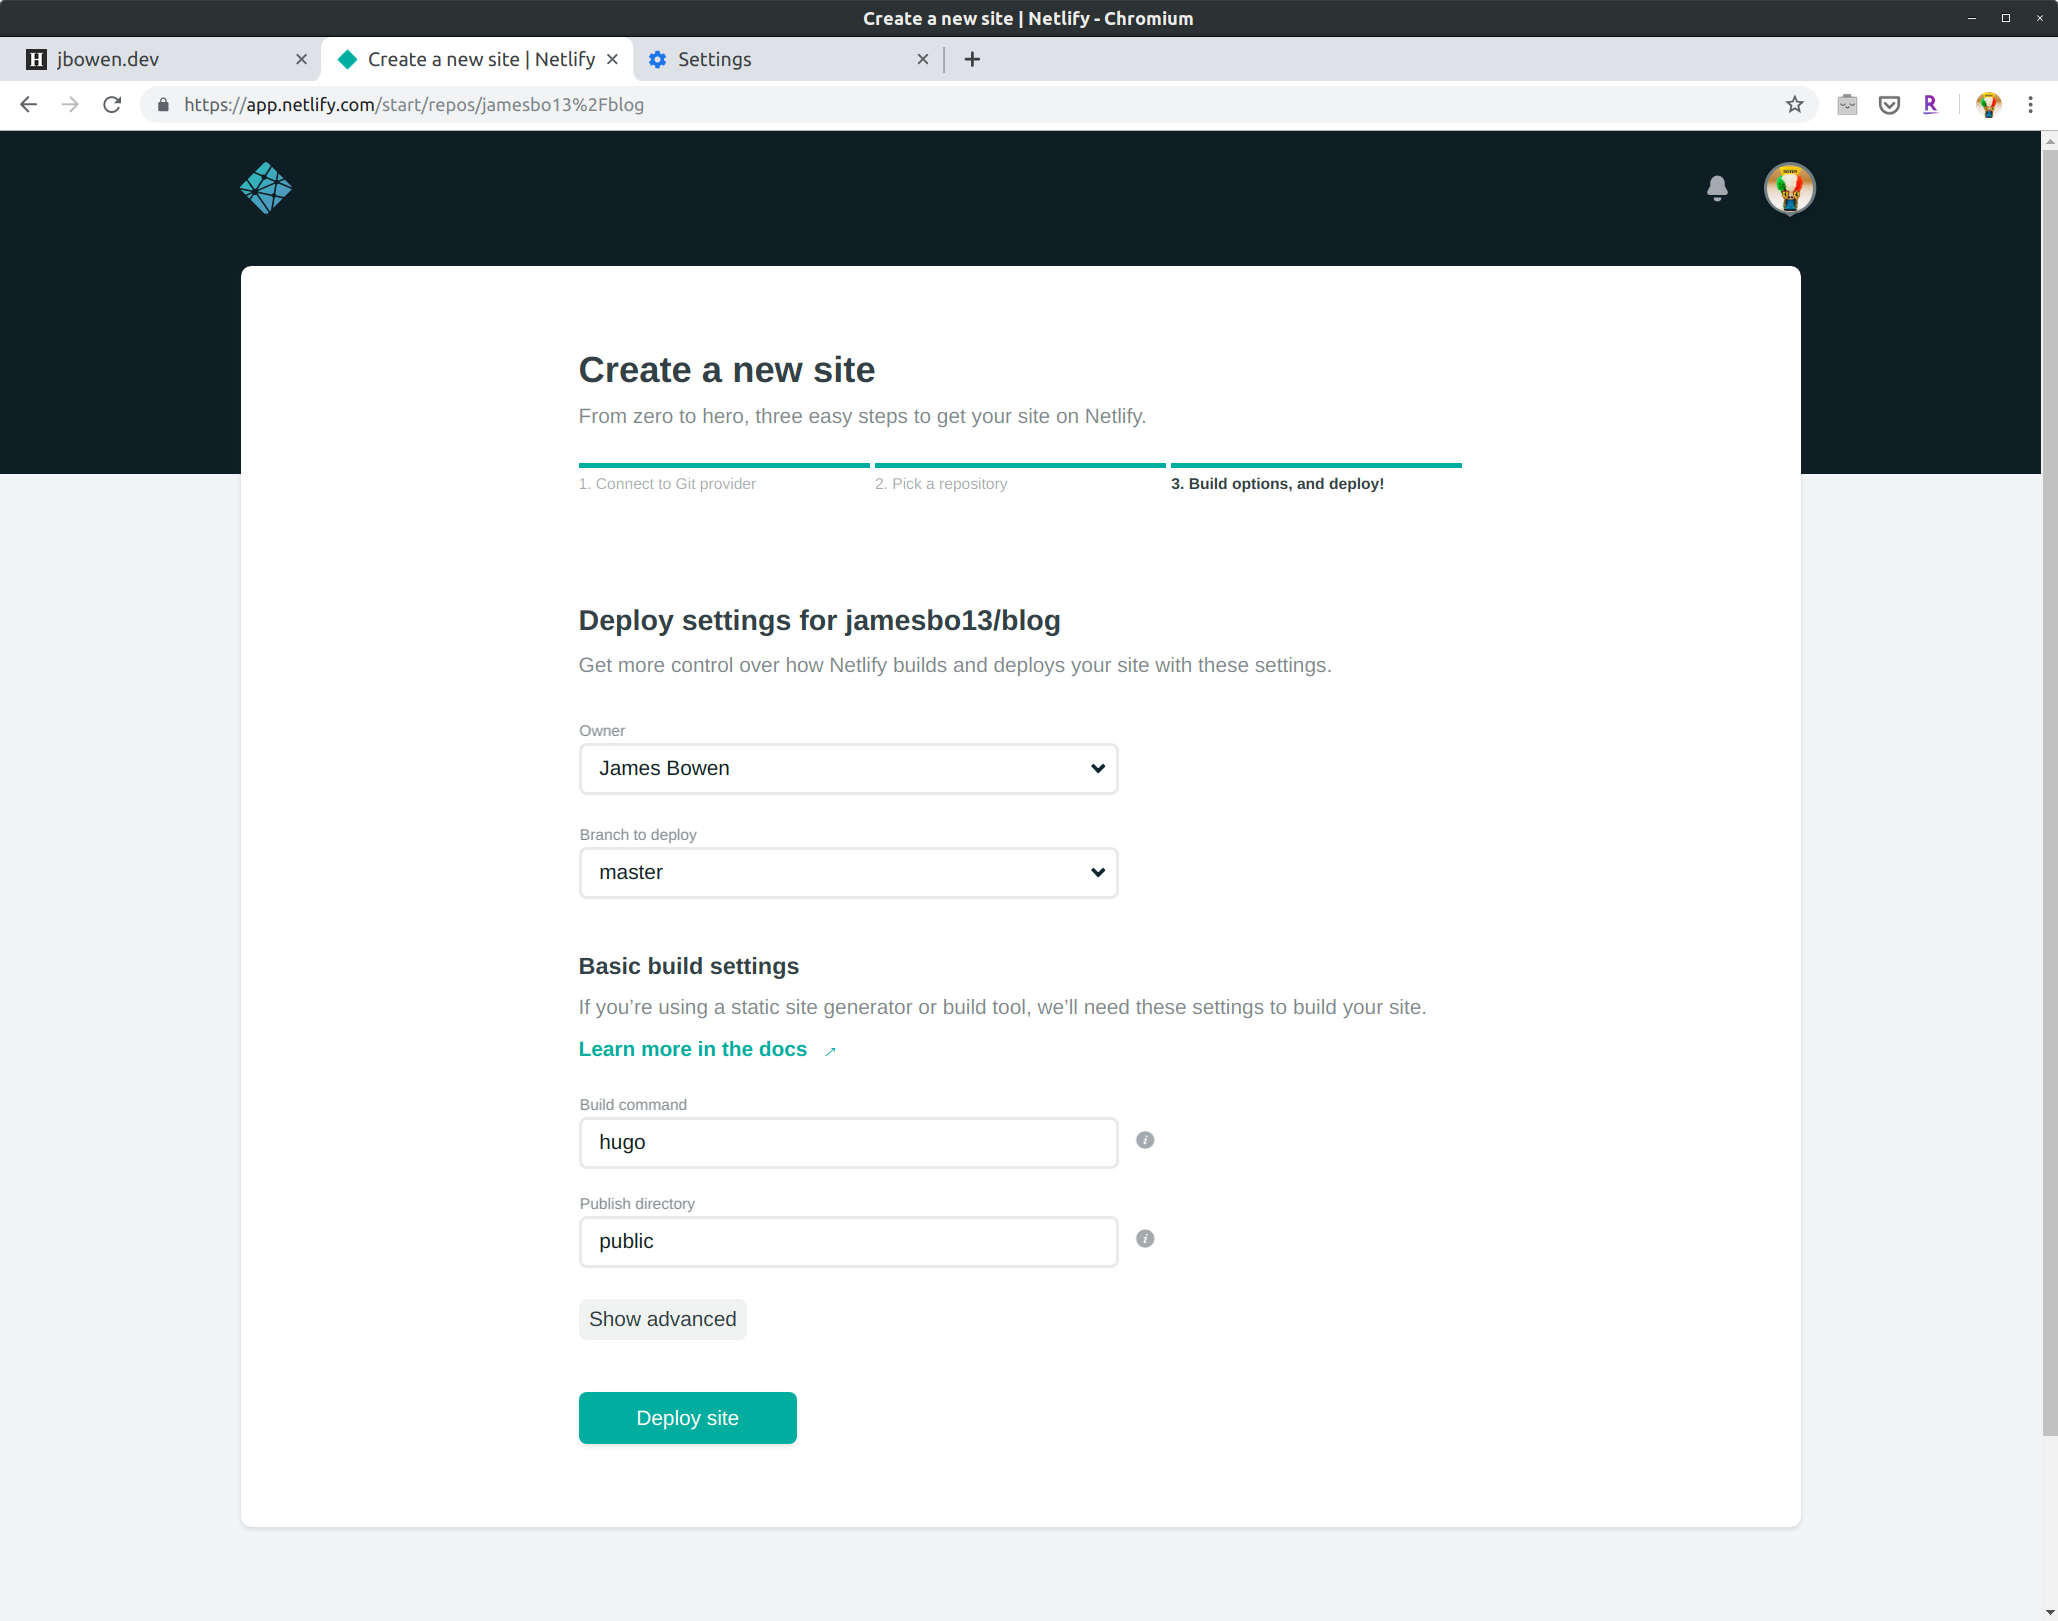
-
Congratulations! Netlify will now trigger a build and, if successful, deploy your site to an autogenerated name such as
grumpy-waffle-43abd5.netlify.com. You can now visit that site and see your blog on the public internet.


Website Naming
By default, when deployed, your Netlify website is accessed via a unique auto-generated hostname
in the *.netlify.com domain, such as grumpy-waffle-43abd5.netlify.com. You can change this
to another name in the *.netlify.com domain provided it is not in use via options in the Netlify
site dashboard. In the next post, I will discuss how we can use our own custom domain for our
Netlify site.
Automatic Deployments
Now that this initial configuration is complete, Netlify will monitor your master branch (or whichever branch you specified in the config) and automatically regenerate and deploy your website whenever the branch has a new commit(s).
Thus updating your website becomes as easy as:
- Edit local files
- Test using
hugo serverand verify changes work - Commit changes to git via
git addandgit commit - Push changes to GitHub by running
git push origin - Wait a minute or so and refresh your browser to see your new live site
Advanced Settings
The basic settings for a new Netlify site are great for initial deployments but do not exercise
all the features available. To unlock these, you will need to explore the advanced settings that
are available through the site dashboard or, alternatively, via a TOML-formatted configuration
file, netlify.toml, that you can include in your repository.
A discussion of advanced settings for Netlify is beyond the scope of this article. However, there is one particular setting that might be useful for even the most basic sites: Environment Variables.
Both the dashboard and the config file have the ability to define environment variables that will
be set prior to running the build command. These allow all sorts of configuration settings to
be made, but perhaps the most immediately useful is to set the version of Hugo to run by defining
HUGO_VERSION to the desired version. This is useful because Hugo is a quick-moving piece of
software and new features and bug fixes become available rapidly, so it is important to keep
the version of Hugo used to build on Netlify in sync with your local copy.
Next Steps
Now we have a live website accessible to the world, albeit with a perhaps less than easy to find name. As mentioned, the final post in this series will outline how to use Google Domains to associate a custom domain name with your Netlify site.